How to set up the server
The server is set up with TiniTalk Admin — a separate Android app for the person who maintains the VPS. You will also need the TiniTalk Server file: Admin uploads it to the VPS during installation.
Before you start
Prepare three things:
- the VPS details from your provider: IP address, SSH username, SSH password, and SSH port;
- TiniTalk Admin on your Android phone;
- the TiniTalk Server file for Linux x86-64, saved on the same phone.
Add the VPS
- Open TiniTalk Admin and tap “Add server”.
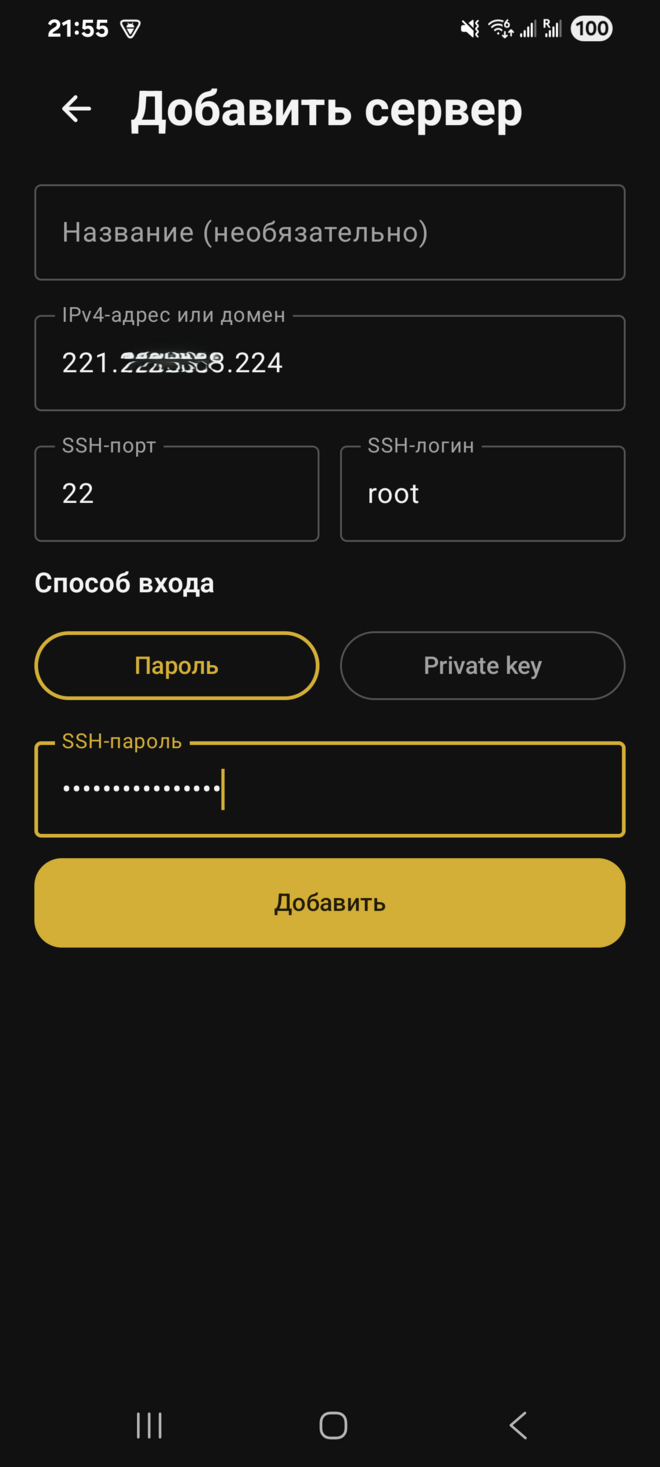
- The “Name” field can be left empty, or you can enter something like “Family”.
- In the “IPv4 address or domain” field, enter the server IP without
https://and without a port. - Enter the SSH port, SSH username, and SSH password from the provider’s email or control panel.
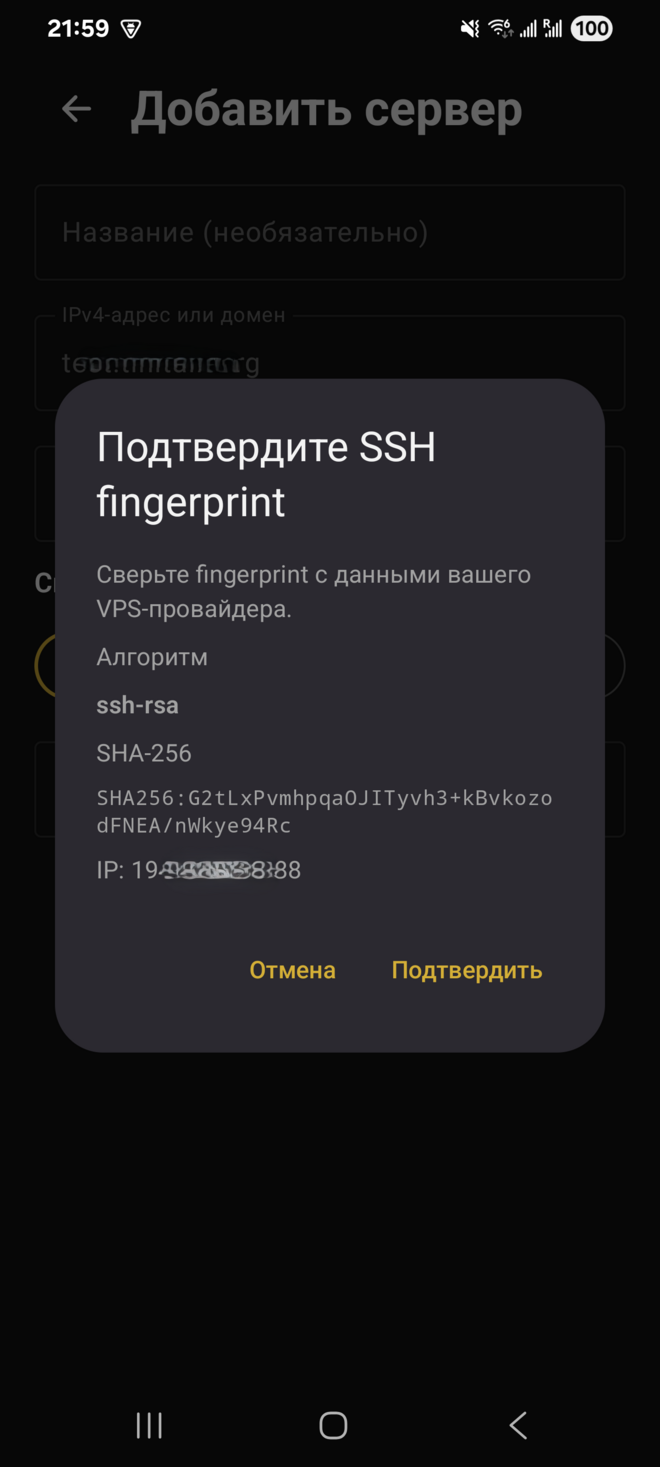
- Tap “Add”, and if a confirmation appears, tap “Confirm”.
Start the installation
- In the “Initial setup” window, tap “Choose file”.
- Select the TiniTalk Server file you downloaded.
- Tap “Start” and wait until the setup finishes.
- When you see “Server configured”, you can create users.
Create users
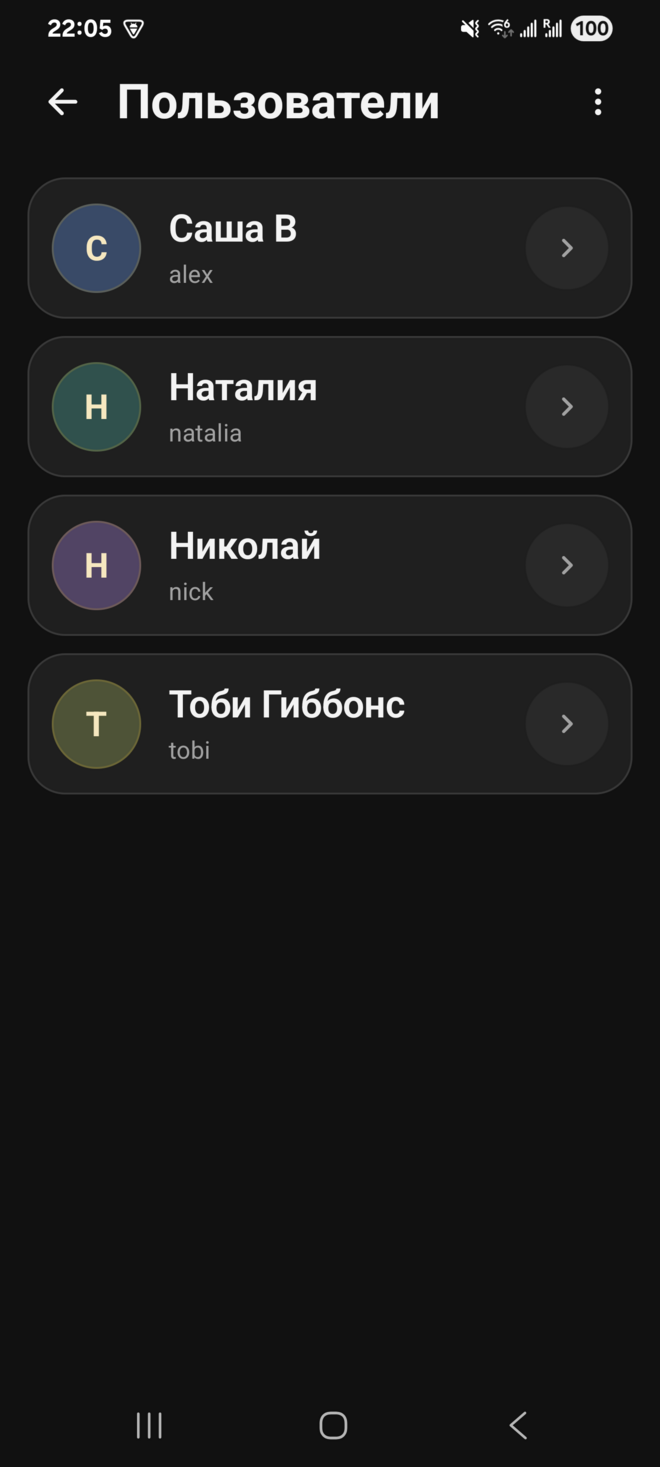
Add a separate account for every person who will make calls through your server. This makes it easier to remember who is who, and if needed, you can disable access for one person without touching everyone else.
- Open the “Users” section.
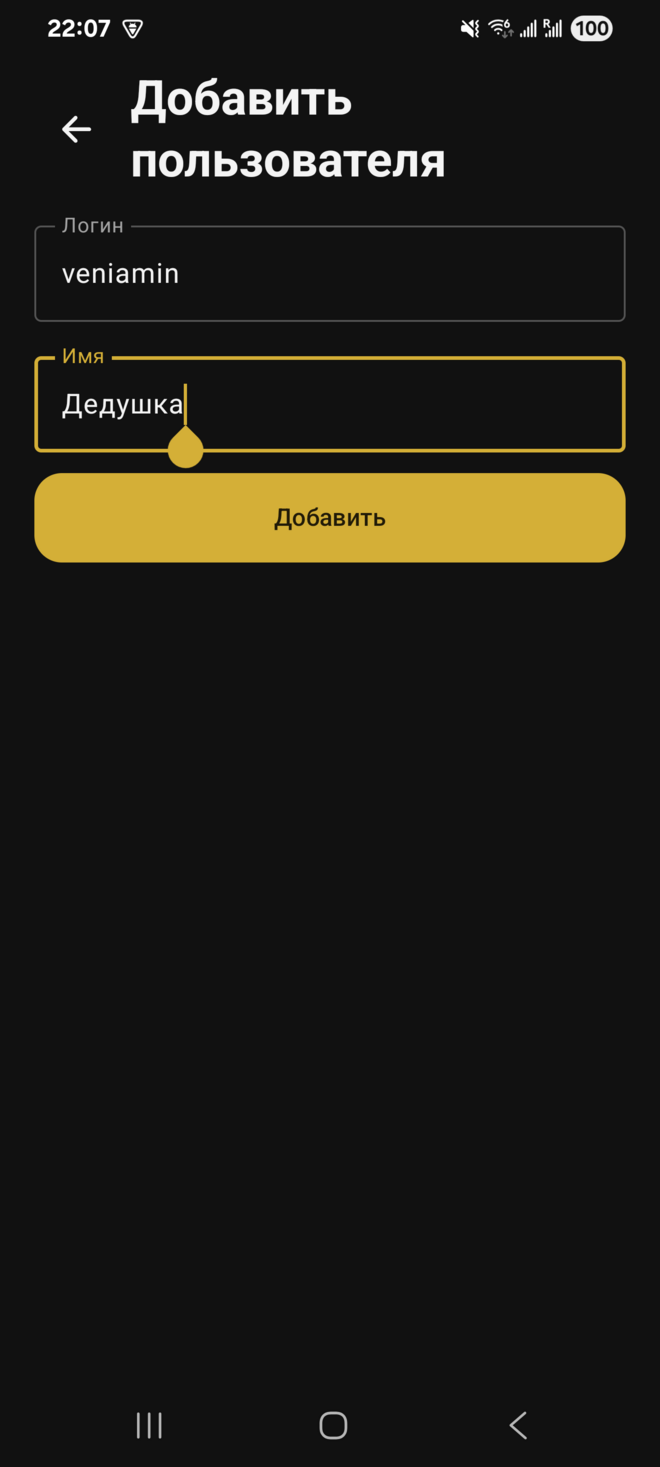
- Choose “Add user”.
- In the “Username” field, create a short username. For a family server, simple Latin usernames like
mom,dad, oralexare convenient. If one server will have many people from different circles, neutral numeric usernames like716351423are better. This is the username the person will enter in the TiniTalk app. - In the “Name” field, write a note for yourself so you remember who this account belongs to. This name is visible only in TiniTalk Admin and does not appear in users’ contact lists.
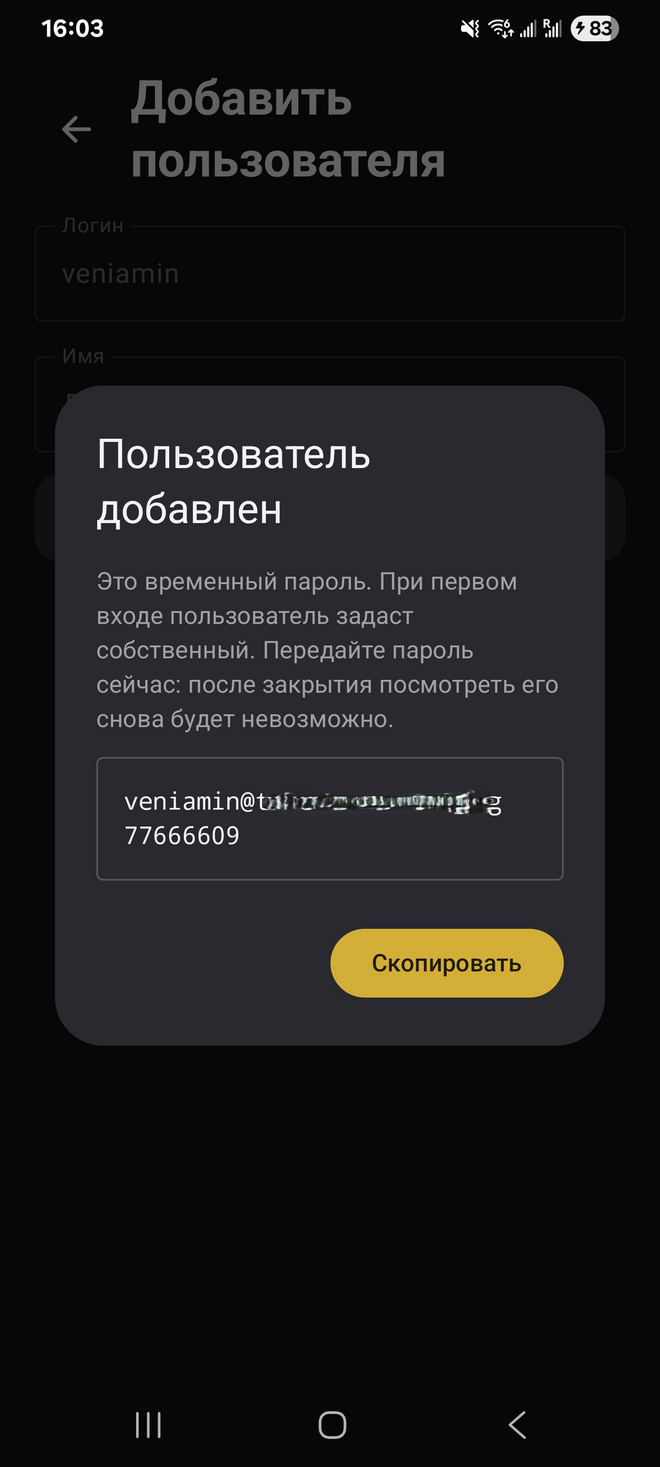
- Tap “Add”.
- The app will show a temporary password for the first sign-in. Save it or send it to the person: you will not be able to view the same password again later.
- Send the person three things: the server address, username, and temporary password. Do not send anyone the VPS password.
- Repeat these steps for the rest of your family or friends.
The temporary password is only for the first sign-in. When the person signs in to TiniTalk for the first time, the app will ask them to create their own personal password.
If someone loses their password or does not sign in in time, open their account in TiniTalk Admin and issue a new temporary password.
Updating the server
When a new TiniTalk Server version is released, you can install it through TiniTalk Admin. Download the new TiniTalk Server file to your phone, open the added server in Admin, and tap “Update TiniTalk”.
What next
The server is ready and the users have been created. The last step is to install the regular TiniTalk app on the phones and sign in with the server address, username, and temporary password.